Wednesday, March 28, 2012

And so it begins


I was thirteen when I painted my first mini, a blobby cleric in primary colors that looked like he was giving the finger. I slopped paint on so thickly that all details were lost. This week, while we were both on spring break, my daughter asked me if she could paint a mini of her own. She picked out the mini and followed my directions. The only thing I did was the Magic Finish, which had the potential to be a Magic Mess if things went awry.

My wife's comment: "My, elves are sure into plastic surgery, aren't they?" Sheesh! If you ask me, my seven year old daughter is already better than most of the Warhammer munchkins out there.

Next Project: American Civil War in 10mm


Now that my Rorke's Drift project is in the can (and in under two months, thank you very much), it's time to move on to different things. I've long been a fan of the American Civil War, but it has been years since I gamed it. Back in the day, Johnny Reb I was my favorite set of rules. Anything could happen on any given turn (I remember routing three of the four elite regiments in my brigade when my opponent pciked off a single casualty with a long range shot from a Whitworth. Never were so many 2's rolled in succession!). Sentiment aside, I wanted something simpler and more elegant this time around. After looking at several rules sets, I settled on Black Powder, which allows for the vagaries of command on the battlefield, but is much simpler in terms of mechanics (there are probably half as many steps involved in resolving a charge, for instance).

I had gamed in 15mm in the past, and part of me was tempted to dust off the old minis. However, the relative small units involved in Johnny Reb meant that my Black Powder units would look anemic. Besides, the old 15mm figs were among the first I ever painted. Suffice it to say I've learned a lot about painting since then. So with a tearful farewell, I put my old Yanks and Rebs for auction on eBay. I hope they found good homes.

So back to the painting table. I decided on 10mm Pendraken figures. Old Glory were cheap, but for me the "strip" approach looks better for Napoleonics than the ACW. And the Pendraken looked good. Really good. A pack of 30 had seven or eight poses, all nicely sculpted and easy to paint. I was torn between six or eight figures on one inch square bases. Pendraken made the decision for me. Only three figures fit across on each stand, so six it was.

I love how quickly 10mm figures paint up. I finished my first six units of 24 (three Union and three Confederate) in under a week (gotta love a quiet Spring break!). Just for kicks, I started making some terrain. Here you see a wheatfield courtesy of an IKEA Trompa mat, some toothpick split rail fences (washed brown then grey to give it a weathered effect), and some freshly plowed fields made by sticking corduroy to a self-adhesive tile, then painting it brown with a dry brushing of green and flocking to finish).


Tuesday, March 27, 2012

Eight things I learned from "The Washing of the Spears"


I am currently reading The Washing of the Spears, by Donald R. Morris. This monumental 1965 work is the authority on the Zulu War. It tells the story of two empires, British and Zulu, and their seemingly inevitable military confrontation in southern Africa in 1879. Published just a year after the most excellent movie Zulu, Washing explodes some of the myths in the movie, while appreciating the epic obstacles each army had to overcome. Though small in scope (only six major battles and lasting less than a year) the Zulu War has captured the imagination of gamers like myself for generations, due to the heroism shown by the stubbornly defiant Zulus and the vastly outnumbered British.

The eight most interesting things I learned from Washing are:

1) Jane Austen's great nephew was killed at Isandlwana.

2) There was only one journalist accompanying the British army. How times have changed.

3) The speed of the British army was limited by the digestive system of oxen more than any other factors. Oxen need to graze eight hours a day, and they mush ruminate and digest for another eight, leaving a narrow window for the army to move.


4) Lt. Bromhead, played wonderfully by Michael Caine in the 1964 movie, was deaf. So deaf, in fact, that his superiors doubted his ability to follow orders in a combat situation. Hence he got stuck doing garrison duty at outposts like Rorke's Drift, where attacks were never expected.

5) Looking at a map of Africa, one would assume that South Africa would be far removed from the migrations of populations that you get in Europe and the Middle East. However, the British were the fifth civilization to push into the region, following the indigenous African people, the Hottentots, the Bantu/Zulus, and the Boers. We humans do get around, don't we? I realized that far from being a victimized people, the Zulu were in their turn an aggressive imperial power, very much like the British in many ways.

6) Cetshwayo, the Zulu king, was a savvy politician who understood and even played by the conventions of European diplomacy. He refused to allow his armies to cross the frontier into Natal, even when he had the chance. His hope was to maintain the moral high ground, shaming the British into maintaining the frontier. Sadly for him, Lord Chelmsford believed that the only way to maintain peace with the Zulus was to subdue them through force, rendering all diplomatic plans futile.

7) The 1979 film Zulu Dawn draws heavily on post-Vietnam anxieites about imperialism. Chelmsford and the British in general are protrayed as arrogant, aloof, and totally ignorant of the threat posed by the Zulus. In point of fact, Chelmsford seems to have had a great respect for teh capabilities of the Zulus. He issued a manual describing Zulu culture and tactics to all of his officers. His decision to split his forces at Isandlwana was done in no small part to bait the Zulus into attacking. Had Durnford and Pulleine co-ordinated better and deployed more effectively, Chelmsford's plan might have revealed him a genius. Instead, he gets credited with one of the worst blunders in military history.

8) There was a total eclipse the afternoon of Isandlwana/Rorke's Drift. Neither movie makes mention of this natural phenomenon. Perhaps the directors believed that a natural event so loaded with symbolism would appear too heavy-handed and unrealistic. Just goes to show you: reality frequently blows the doors off of the most imaginative human endeavors.

Friday, March 23, 2012

15mm Rorkes Drift: Ready to go!

In just over a month, I have painted up thirteen units of 20 zulus, plus sixty-four fighting Welshmen to hold Rorkes Drift against them. Then I painted up the terrain board and buildings. It has been a lot of work, but a lot of fun, too, and I've learned a lot in the process. I just wanted to get some photos up before I start to game it next week.

As always, click the photos to enlarge them.


Wednesday, March 21, 2012

Making movement trays on the cheap


This spring, I'm living a dream I've had since I was a wee little wargamer almost thirty years ago: gaming the Zulu War of 1879. However, an early playtest and a fun stop-motion animation revealed that moving dozens (nay, hundreds) of Zulu warriors across the tabletop was tedious and a pain in my back. Literally. I'm getting too damn old to remain hunched over my minis for long. So the solution came naturally: get movement trays for my Zulus. There are certainly a number of fine manufacturers out there, who create fine-looking products at reasonable prices.

However, I'm cheap. Since I would require over a dozen trays to move my Zulus, even a savings of $1-3 dollars per tray would be worth it.

I also like the DIY aspect of gaming. Making a good-looking scratch built object is far more satisfying to me than shelling out bucks for something prefab. So I hit Home Depot and the craft store for the following materials:

Foam craft sheets, 4"x6" and about 2mm thick, just the right height for my penny-mounted Zulus. These can be had at my local dollar store at 12 for a buck.

One of my wife's cannoli tubes. If you are not so lucky as to have a wife who is into making desserts, you can get these on eBay at $6 for four. They come in two sizes, 3/4" and 7/8" diameters. The 7/8" works out to about 22mm, just slightly larger than the diameter of my penny bases. Perfect. What do you do with the other three cannoli tubes? Make cannolis of course! They're delicious!

Self-adhesive flooring tiles. I cut these to match my foam sheets, so I get six bases per tile. Since I'm making twelve trays, I needed two tiles. They run $1 each at Home Depot.

White glue. Again, hit the dollar store here.

Sand. I get more than I need when I empty out my daughter's shoes after she comes home from school. Her playground-leavings also have pebbles and twigs, which will add texture when i apply it to the bases.

Paint. Good old tan and white craft paints, a dollar for 4 oz. at the craft store. Way mroe than you'll need.

Brushes. Best to use ones you can beat the hell out of.

Static grass.

That's it. Total outlay for twelve trays: $8, or about $.67 a tray. Total savings: over $50. I figure that's about a case of my-tee fine beer. Well worth it.

STEP ONE
I want each base to hold twenty warriors. I used the cannoli tube to score twenty holes in a fairly irregular pattern. I suppose you could cut the foam into whatever shape you desire beforehand, but rectangles work for me.

STEP TWO

Use an exacto knife to cut out the circles you created with the cannoli tube. I suppose you could really just punch the holes with the tube alone, but this will bend the ends of the tube, causing no end of grief from the missus. The Mad Doctor recommends against it.

STEP THREE


Cut the tiles to fit the foam sheets with a stout hobby knife. Once the tile is cut, remove the backing and stick the foam sheets on. If you leave a little overhang, as you see in the photo above, don't fret. Chill. You can simply use the texturing to make such errors disappear in the next step.

STEP FOUR

Texture the base with a mixture of glue, sand, and water (I do 1:1 white glue and water, then add sand until the texture is right). Then, apply to the trays with one of your kids' old paintbrushes. You can tell them the dog got it if they ask.

STEP FIVE
Let the sand dry, at least eight hours. Remove any sand that accumulated in the holes. Even a few grains will not let the figures lie flush with the tray. Then prime with a spray primer. I prefer black, but that's just me. Now paint that sucker. Apply paint liberally, but do not slop it on, as accumulations at the edges of the holes will cause the figures to pop up.

STEP SIX

Mix a little white paint with the shade you used for the base coat. Now dry brush lightly over the sand texture to bring out details. I don't suppose this step is necessary, but to me it makes a huge difference.

STEP SEVEN

Apply static grass, using more thinned white glue to secure it.

Viola! You're done. A dozen trays, capable of holding 240 angry Zulus (note to self: develop new IPhone app), cost me under $10 and only took about an hour or two of hobby time. Now on to Rorkes Drift!

Saturday, March 17, 2012

15mm Rorkes Drift: Ready for Action!

Well, now my Zulus have someplace to attack! The board is ready, and the mission station at Rorkes Drift has been fortified with mealie bags and biscuit boxes.

Now to wash the spears with blood...


Saturday, March 3, 2012

Horns of the Buffalo: A playtest review of Dadi & Piombo's Smooth and Rifled


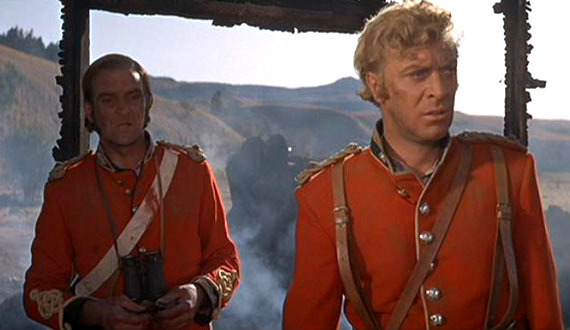
I've wanted to game the Zulu War for thirty years now. The time and effort involved in painting the zulu forces always seemed beyond me. But after doing two entire Napoleonic corps in 10mm last summer, I decided to go for it. I purchased the Old Glory Rorke's Drift set in 15mm (see above for review) and set to painting. The Old Glory set came with a set of rules, but I wanted something I could use with different scenarios. I remember playing Swort and the Flame a long time ago. Even in the 80's, I felt like they were kind of creaky, and I wanted something a little more fast-paced and state of the art. Dadi & Piombo just released the "Smooth and Rifled" rules on pdf, I thought I would give them a try.
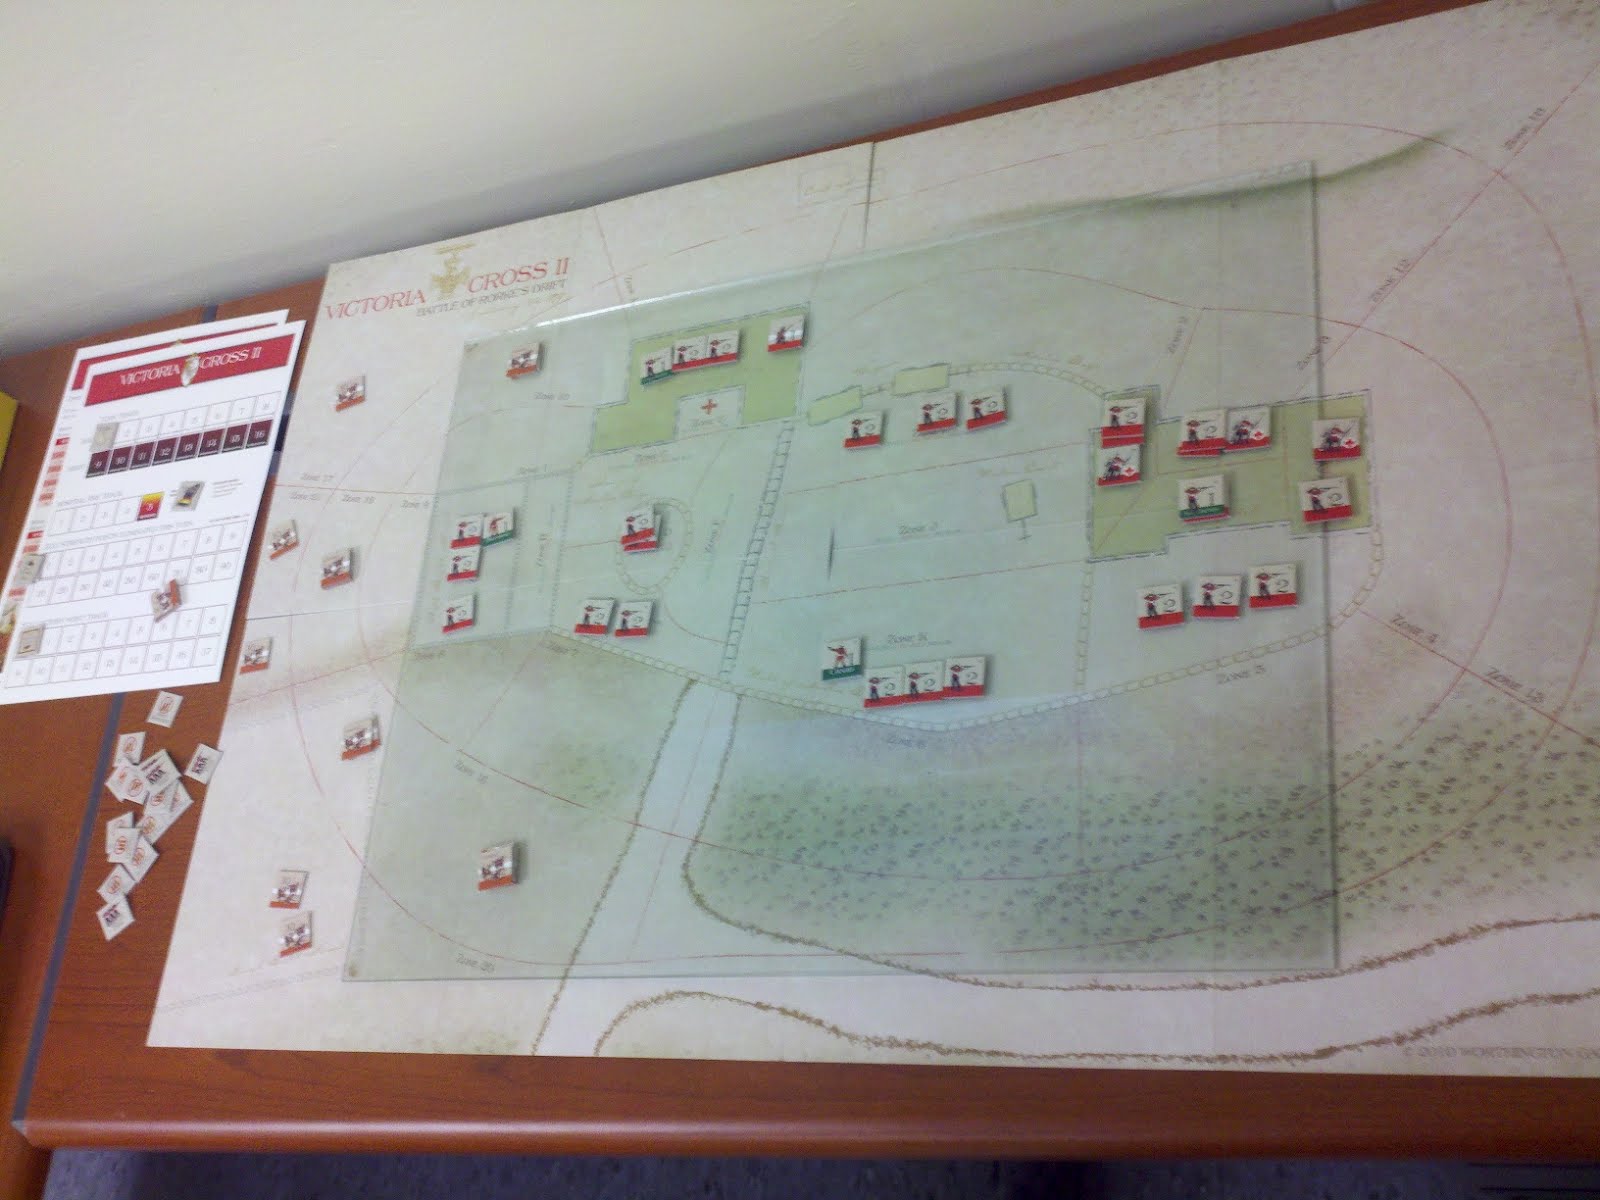
Just a note: The board I am using looks terrible. I think it needs another layer of plaint, plus some highlighting to bring out the texture. Then maybe some stones and scrub to add visual interest.

The scenario I was going to test out: twenty British soldiers, led by a sergeant and a corporal, accompany Lt. Alastair Poppleton-Smythe on a scouting mission to locate the nearest Zulu impi. However, when passing through a hilly area, they find themselves ambushed by 54 zulus who have infiltrated the flanks of the small column. It is a 'horns of the buffalo' maneuver in miniature. With very little covering terrain, this is a straight-up test of the Brit's ability to fend off a charge from multiple directions. This is a large game by S&R standards, but with the relative simplicity of the terrain and forces involved, I did not feel like I was being over-ambitious.

S&R uses an initiative system where each unit rolls 3d6, then uses those points to perform actions. Officers provide some bonus to that roll. The more actions a unit takes, the more those actions cost. Figures can act independently, but for large units, it is necessary to activate your NPCs to command 'group actions.' These are an economical way to move a larger unit, but they are understandably a little less flexible.

Initiative on the first turn grossly favored the British. The three zulu units rolled 8, 7, and 5 on their initiative rolls, leaving them unable to do little more than creep forward under the sights of the British guns. The two 'horns' took serious casualties from aimed fire. One even routed off the board after taking six kills and blowing a morale roll. The other unit lost three figures and had two warriors shaken, but they plowed on.


Shooting works by rolling dice for each figure firing. Shooting individually probably provides more raw firepower, but it would prove tough to activate so many shooters without group actions. Group volleys have the benefit of averaging out casualties. A huge fistful of dice is rolled for the firing group, then the total is divided by a target number based on the range to the target. In this case the range of the Martini-Henry's proved devastating. Figures then are hit are then either stunned or killed on a 50-50 chance. Taking time to aim helps the kill percentage, and since morale is based on kills, it is usually worth it. However, reloading breechloaders also takes an action. After the first turn of lethal volleys, our entire British platoon had unloaded rifles... Still, I thought that this was going to be a walkover for the British.


Thus, for the British, the second turn was one of reloading and maneuvering. Weaker initiative on their part meant that only one of the squads was able to get off a quick shot. One of the zulu units even made contact, though only four of the warriors had enough movement to meet the British lines. A short, inconclusive melee followed, with one British and three Zulu casualties. The Zulus wound up leaving their shaken warriors behind in the charge. This, I learned, created a problem, since these figures would have to pay separate initiative to rejoin their unit, and without an NCO, they could not take a group action. A good dilemma for commanders to have: do you wait and rally, or rush ahead at less than full strength?

Anyhow, the first British squad recovered, fell back, and drove the attackers away with a hasty volley. It still looked like this was going entirely the way of British firepower. After three turns, there was one British casualty to sixteen zulu dead. One of the zulu units had fled, and the other was largely shattered.

Then, on the fourth turn, the pokey zulu unit, which had not rolled above an 8 for its initiative, finally made contact. Here, the weight of numbers made the difference, for while the zulu unit took six casualties, they inflicted seven on the British. Among the dead was the valiant corporal, and a rifleman who took two zulus with him before he fell with an assegai in the gut. Both sides made and passed a morale check.

On the fifth and final turn, the shattered British squad fell back behind the safety of the guns of the other squad, which delivered a final devastating volley on the last zulu unit. It was a British victory, but by a much slimmer margin than their early successes would have indicated.

This whole scenario played out in just over an hour, though admittedly it was a simple scenario consisting of an all-out charge. The mechanics were simple and elegant and produced results within the realm of believability. I'm a big fan of unpredictability in wargames, and I like to see the tide of battle change on the roll of a die. (Suffice it to say, I am not a big fan of DBA) This game of S&R had many back-and-forth moments that kept me on my toes. Had the zulus won initiative in the last turn, they would have been able to close with the British before they could have reloaded and fired. If they could have taken out five soldiers (or fewer if they could take out the sergeant) the game would have come down to a single morale test. Awesome!

A good game, and one I am happy to play again.

Friday, March 2, 2012

Victoria Cross II: A review


So in an effort to learn more about gaming the Zulu War, I picked up a copy of Victoria Cross II by Worthington Games. It recreates the battles of Isandlwna and Rorke's Drift. The playing pieces are colorful and sturdy. The rules are clearly written and well-presented. At four pages, there is not much to them, and one can begin playing shortly after opening the box. I do have a slight issue with the two-sided maps. They are printed on heavy cardstock which I could get to lay down only after setting a sheet of glass on top of them (see image below). They lack the bright colors of the counters, instead offering a faded appearance with script-like notations, giving the feel of a period map. Very cool. Movement is by irregularly blocked zones, rather than hexes. Being born and raised on hexes, I was dubious at first, but the zone-based movement works surprisingly well. best of all, line of sight is actually marked on the maps, so if you are in zone "J", you know exactly what other zones you can target. Brilliant idea that greatly speed up game play.

The mechanics are fairly simple and abstract, designed to keep the play moving. Zulu casualties re-enter the board on the following turn, so the British must choose between reinforcing the current main thrust and keeping a reserve for the next wave. Meanwhile, the only British hope of reinforcement comes from the Surgeon, who can restore wounded units, but getting these units to the hospital and patching them up can take several turns. This, preserving manpower for when it is needed is a key goal of the British side. I like games that give both sides meaningful decisions, and the differing reinforcement tools do just that.

Below is a photo taken after the first turn of the Rorke's Drift scenario. The Zulus chose to swarm around the kraal at the western edge of the map and work their way up the compound. Not a bad strategy, as they limit their exposure to British firepower that way. However, if they break through the first line, they still have a long way to go before they reach the hospital, the source of most of the victory points the Zulus can earn. In this game, the British rifles were not as accurate as they might have been, allowing the first wave to reach the walls. The Zulu assault was repulsed, but not before the British took their first casualty. Zulu sniper fire was as ineffective as it was historically.

Overall, a fun, fast game with simple but elegant mechanics that do a good job of capturing a period feel.